Sofa Table, the beginning
- Mike Barber

- Feb 13, 2022
- 3 min read
Updated: Feb 14, 2022
For this project, I decided that I would post a series of blogs documenting the process of building a project from the very beginning to completion. In this case, the genesis of this project was a request from our son Nick for a sofa table last fall. Their house is the small 1930's bungalow where I had previously built cabinets around their fireplace. In their small house, space is a premium so the table is needed to organize and maximize the floor space.

Since they wanted the table to match the cabinets I had built, picking out the material and finish would be easy. It would be out of poplar wood and use the multilayer finishing process that I had used on the cabinets.

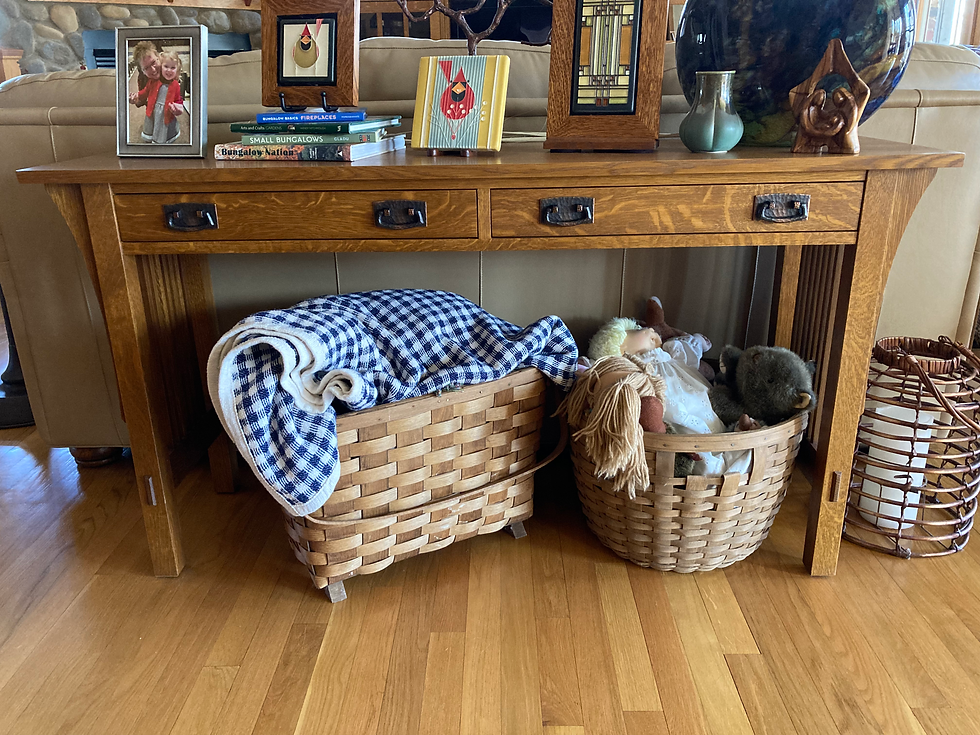
As far as design, I thought an arts and crafts design similar to the sofa table we have in our house would look good in theirs.

I sketched out a front view with the key dimensions of 76" long to fit the space they had in mind with a height of 30". I added 3 evenly spaced drawers and corbels to make it an arts and crafts table.

The side view has a top that is 16" deep and has slats between the upper apron and the lower rail. At this point I only work from overall dimensions and calculate inner dimensions as I built the piece. In this case, I made the square legs and then took those dimensions to determine the length of the apron and lower rail. That dimension with a 1" overhang of the top came out to 11" which meant that 5 1" slats with 1" in between would fit. You will see that as I assemble the table ends.
At this point, I knew enough to determine that I would need about 50 board feet of poplar wood for the project. From my previous experience building the cabinets, I knew that I wanted poplar wood with predominantly green grain because it stains more evenly than the lighter grained poplar. It just happened that my woodworking buddy Dennis was about to order 150 board feet of poplar so I asked him if I could add my 5o bd. feet to his order. When we got the wood to his house, I was able to select out the boards that had the most green grain. The cost of the lumber was $150 or $3 per board foot.

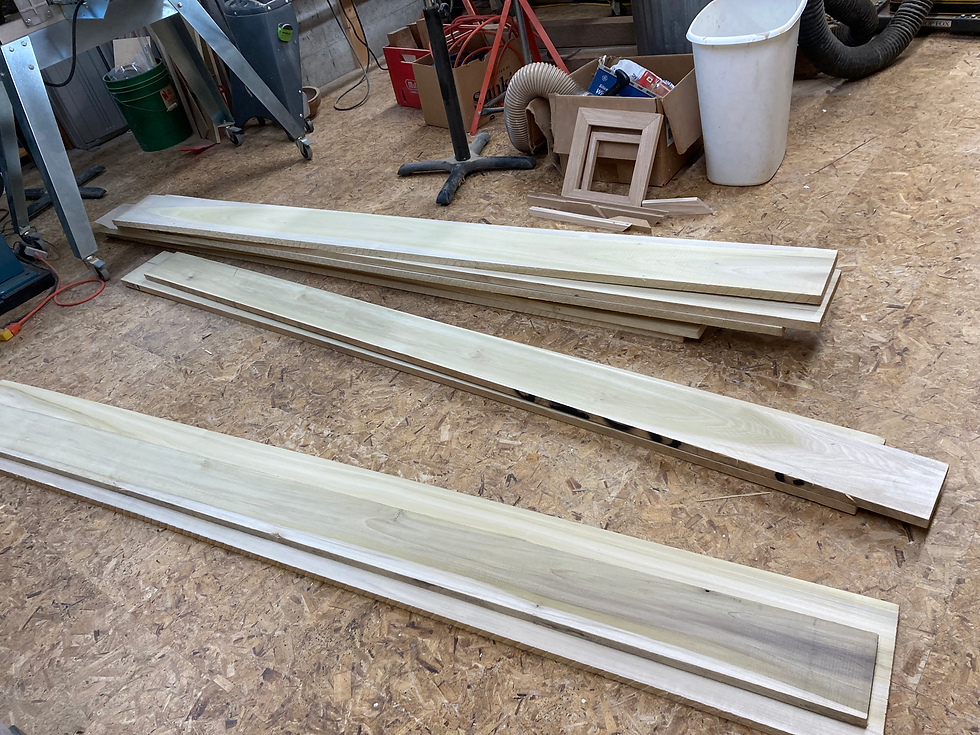
This is the stack of lumber that I bought to make the table. You can see that while there is a lot of the green grain, I am going to have to carefully cut the boards for the visible parts of the table to be green grained and leave the lighter grained portions for the interior. For that reason, I chose 3 boards to glue up the top and 2 for the lower shelf. To make sure that the top and shelf were flat as possible, I put tight domino mortises on the outer boards and loose ones on the middle boards for the top.

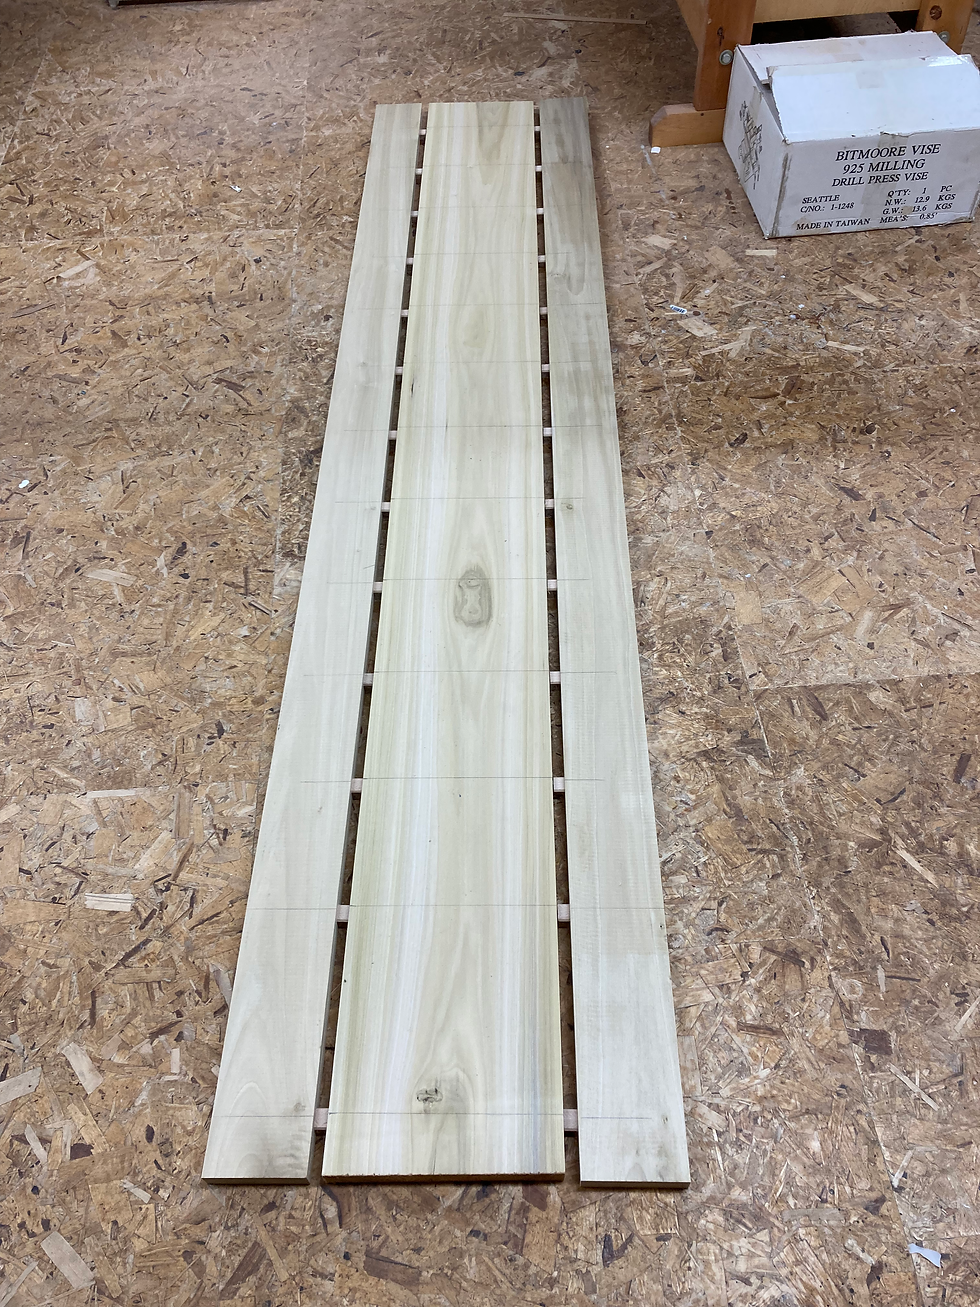
To end up with a finished top 76" long, I milled the rough 1" lumber to 15/16" thick and 80" long and laid out lines for the domino mortises every 6" along the boards.

After milling the domino mortises in all of the boards, I dry fit the boards to make sure the dominos in the outer boards aligned with the mortises in the middle board. One end mortise didn't so I cut it flush and cut a new mortise and glued a new one in to get perfect alignment.

I had to move two tables together to glue up a top this long and lay silicone baking mats on the tables to catch the squeeze out glue. I also put packing tape on the clamps where the glue joint will fall to keep the glue off of the clamps. This make clean up later much easier.

I apply an even amount of glue to the middle board and then lay both boards flat on the clamp bars.

I pull the boards together by hand and then tighten the clamps to produce squeeze out along the glue line. I use Titebond speed set glue which can be cleaned up with a water soaked rag and eliminate a lot of scraping and sanding later.

Another advantage of using this glue is that you can take it out of the clamps after 30 minutes and turn it over to scrape off the squeeze out on the bottom before it gets hard set.
The end result of this process is a completely flat top that almost appears to be one board. total time preparing the lumber and gluing up the top was 3 hours. I used the same process to make the shelf. The next part of the process is milling and joining all of the different components which I will cover in a separate posting.


Comments