Sofa table - milling the parts
- Mike Barber

- Apr 7, 2022
- 3 min read

This picture shows the result of milling of the all the parts and dry fitting them together. I will go into the details of how I created all of the parts in the rest of the blog. By the way, it has been 2 months since I posted any work because my life outside of the shop has become very busy with travel to see family and friends now that the pandemic seems to be subsiding. Our life has started to resemble our "old" life again. The process of creating all of the parts was 31 hours of shop time.
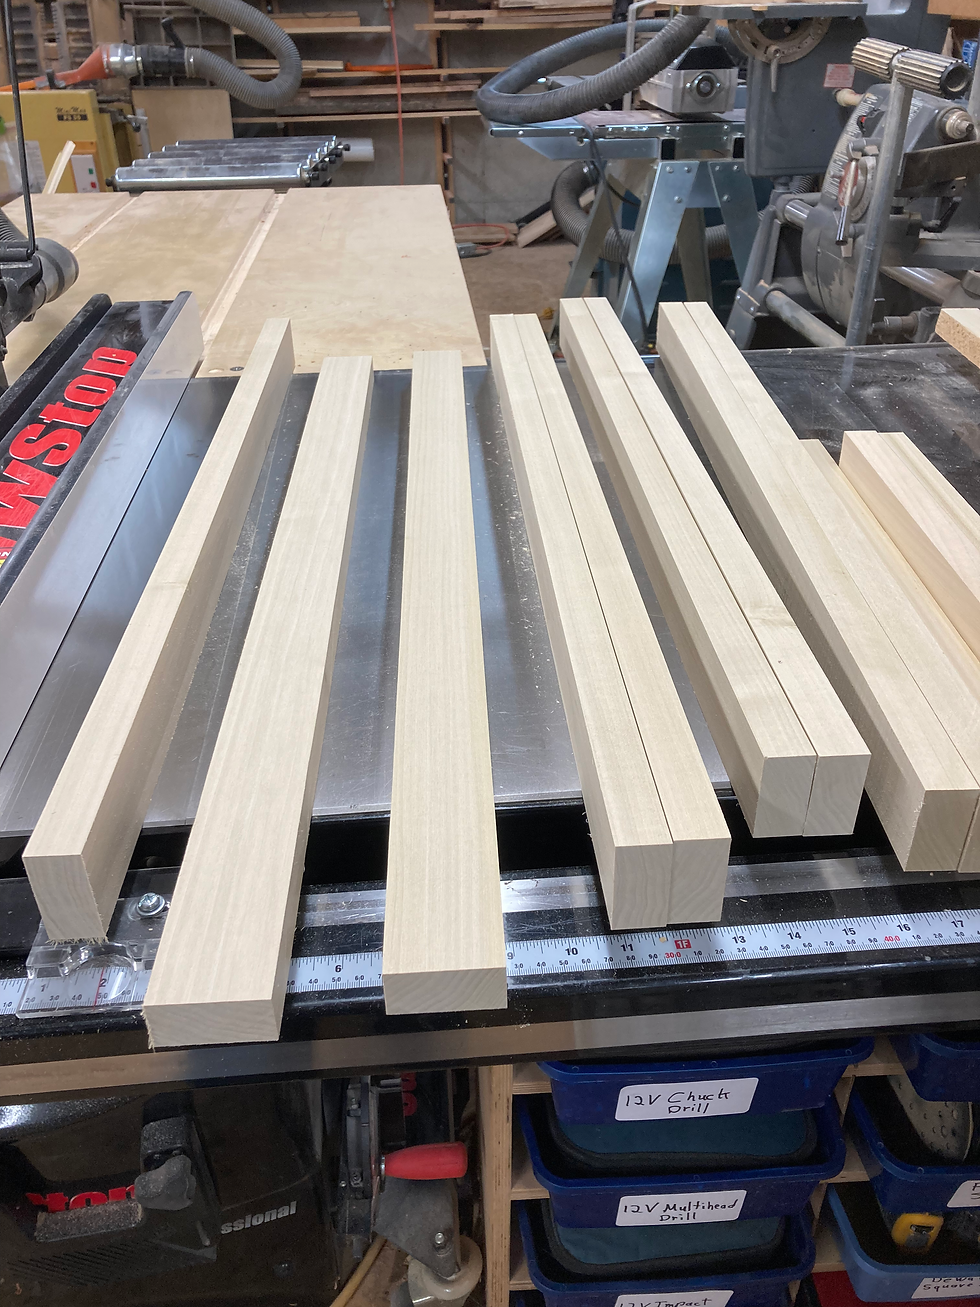
The first component I worked on was the 4 legs. After first trying to use lock miter joints for the legs, I decided to laminate two pieces of the stock to make the legs. The key to getting a good cosmetic result was cutting the 2 pieces out of one board and gluing the faces together to make the grain match and get a tight joint that would not be visible.

The boards for the legs were cut down the middle and then glued together on the face.

After glue up, the leg blanks were cut to length (29") and positioned to show the best sides out. The legs were designated to specific positions and then domino mortises cut into the various faces of the legs. I found it useful to stand the legs in their final position to make sure I put the mortises in the proper places.

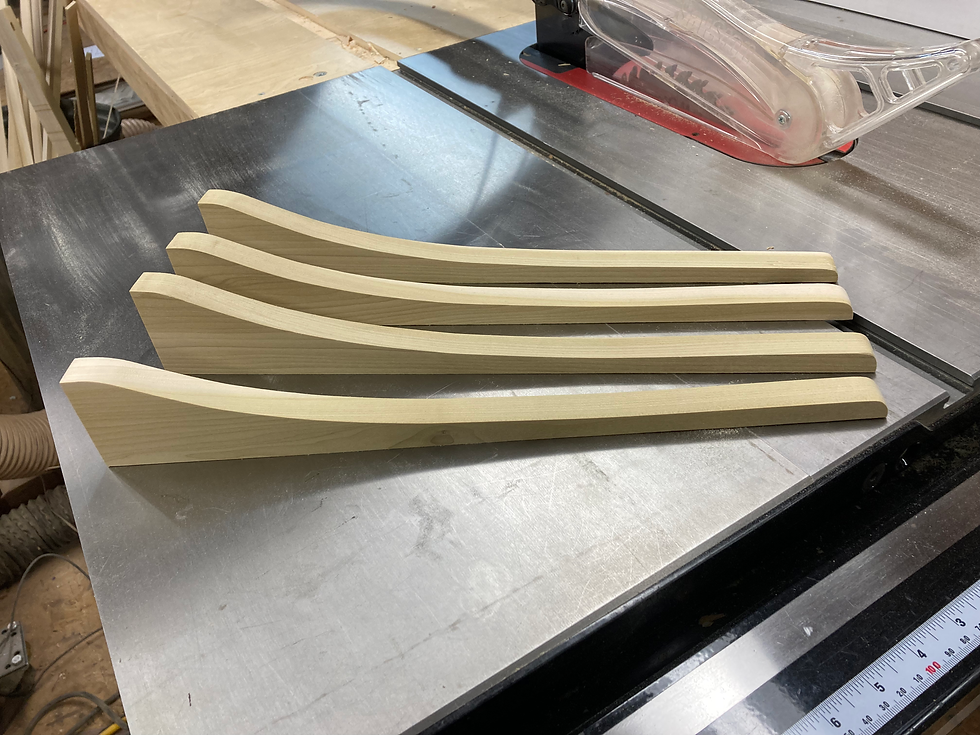
To make the decorative corbels for the legs, I traced a corbel on a piece of furniture in our house and then transferred the outline to a piece of 1/2" mdf to make a template. I cut out the template on the bandsaw just outside of the line and then fine tuned it on the oscillating sander. The template was first used to trace the outline on a blank piece of 3/4" poplar which was then rough cut. The template was then attached to the rough cut and milled to final shape on the router table.

In this photo, you can see that I cut the domino mortises in the corbel blank before cutting it to final shape. It is much easier to cut the mortises on a larger blank.

The result was 4 matched corbels.
The next component was the ends of the table base with evenly spaced slats. I created the ends by cutting 5 mortises on the top and bottom rails on each end and then matching tenons on both ends of the slats.

I fine tuned each mortise/tenon joint and labeled each slat so that I would fit perfectly at final assembly.

I dry fit the end assembly to make sure all of the mortises were in the right place. This is a view of the outside of the assembly and the mortises are for the corbels.
The next component was the front drawer assembly. This component defines the drawer top, bottom and sides and needs to be square. I decided to make all of the drawers equal size so I measured the distance between the legs in millimeters and subtracted the thickness of the 4 dividers and divided by three to get the drawer width. I placed all of the dividers at the appropriate distance and held them in place with clamps and pinned in place with a pin nailer. I then cut a domino mortise in the top and bottom and secured the joints with glued in dominos.

Once the glue dried, the dominos were cut flush and sanded smooth.

With the front drawer frame complete, I cut a back rail to the same length in preparation for a final dry fit to determine the internal dimensions.
This last dry fit is critical to get all of the internal drawer support dimensions just right so that final assembly goes well.


The internal support structure was built to match the internal dimensions of the table base.

Also, the table top and lower shelf were cut to length based on the dry fit measurements.
The next step in the process is staining and finishing the components before final assembly. I have found that it is much easier to the finish work prior to assembly when using a complex stain and finishing process that poplar requires. That will be the subject of the next post.


Comments