Laundry Cabinets
- Mike Barber

- Dec 22, 2022
- 3 min read
For those of you who wonder what I have been doing since my last post, I have been hard at work renovating the condo in Oshkosh that we bought last February. This was one of those unexpected opportunities to upgrade the one bedroom condo to a two bedroom condo in the same building to better accommodate sleep overs of our 3 grandkids there. As you might expect, we decided to renovate the 1980's style kitchen, a half bath on the main floor and put in new flooring on the main floor. As part of the project, we needed more storage in the laundry room.


The story of these cabinets actually starts over 40 years ago when I bought 5 oak raised panel doors when the Mr. How store went out of business in Fairfield. I didn't have a project for the doors until this need came up. In addition to the doors, I bought one sheet of pre-finished 3/4" plywood at Menards for $90 for the body of the cabinet and used oak wood I had in my wood rack for the face frame. One unique part of the design was a tunnel to run the dryer vent through.

The first step was to rip the 4 X 8' sheet of plywood into strips that would become the top, shelf and bottom of the cabinet as well as the two sides.
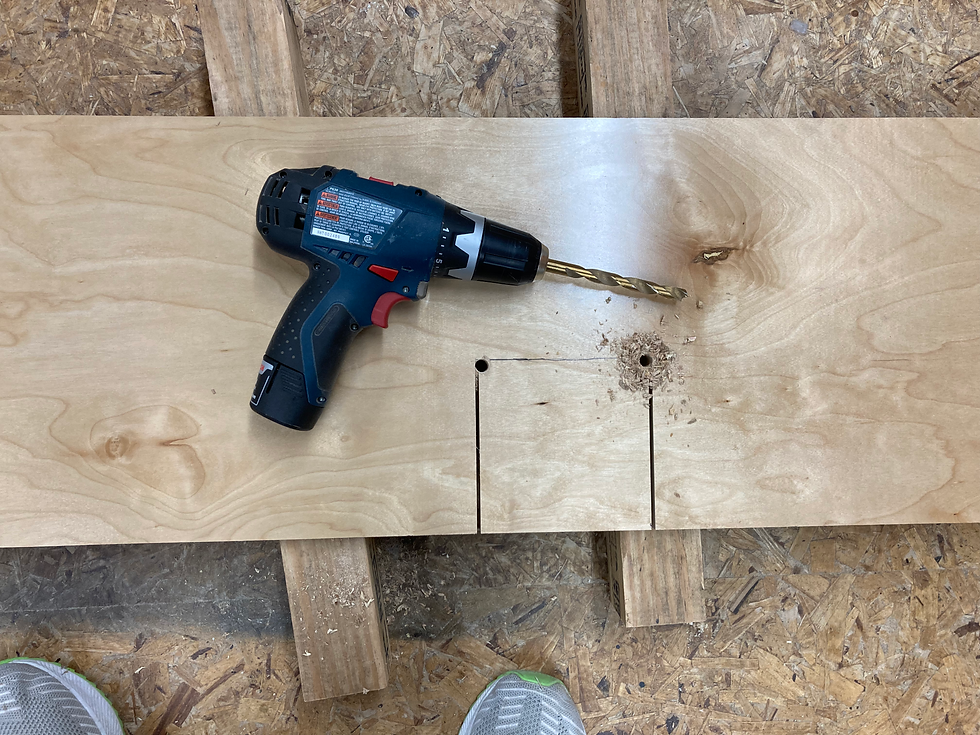
The next step was to make cut outs that would create the tunnel in the top, bottom and shelf. I used a combination of the miter saw and a jig saw the make the cut outs.


These all had to line up perfectly. The next step was to drill pocket holes for pocket hole screws and then assemble the pieces to make the cabinet body.


After assembly, I attached the back and tunnel sides to the cabinet body


The next step was to make a face frame that would hold the doors so that they paired doors would meet in the middle. I determined the distance by laying out the boards on the body of the cabinet.


After a final dry fit of the face frame pieces, I cut them to length, joined them with dominos and then routed a grove in the front of the cabinet to hold the face frame in place with wood biscuits. I cut the biscuit mortices on the upper member of the face frame so that the lower member of the face frame would be even with the top surface of the bottom shelf.


I then dry fit the doors to make sure the face frame was spaced correctly. I then finished the face frame and doors with 3-2-1 to give them a darker natural color, then a shellac sealer and then last sprayed them with water based polyurethane for a durable final coat.

After finishing was completed, it was a matter of attaching the hinges and door handles and hanging the cabinet. Rob helped me hang the cabinet which went in with a moderate amount of difficulty because I had only allowed 1/4" clearance for the post on the back left. Next time I will allow at least 1/2" for a similar installation to allow for corners that are not square. The whole project took 42 hours and in addition to the $90 I spent for the plywood, I spent $42 for the hinges and $21 for the handles for a total of $153 for the cabinet. At the same time I have been working on a table for the entryway of the new condo and I will post the build process when I have it completely done.


Komentáře