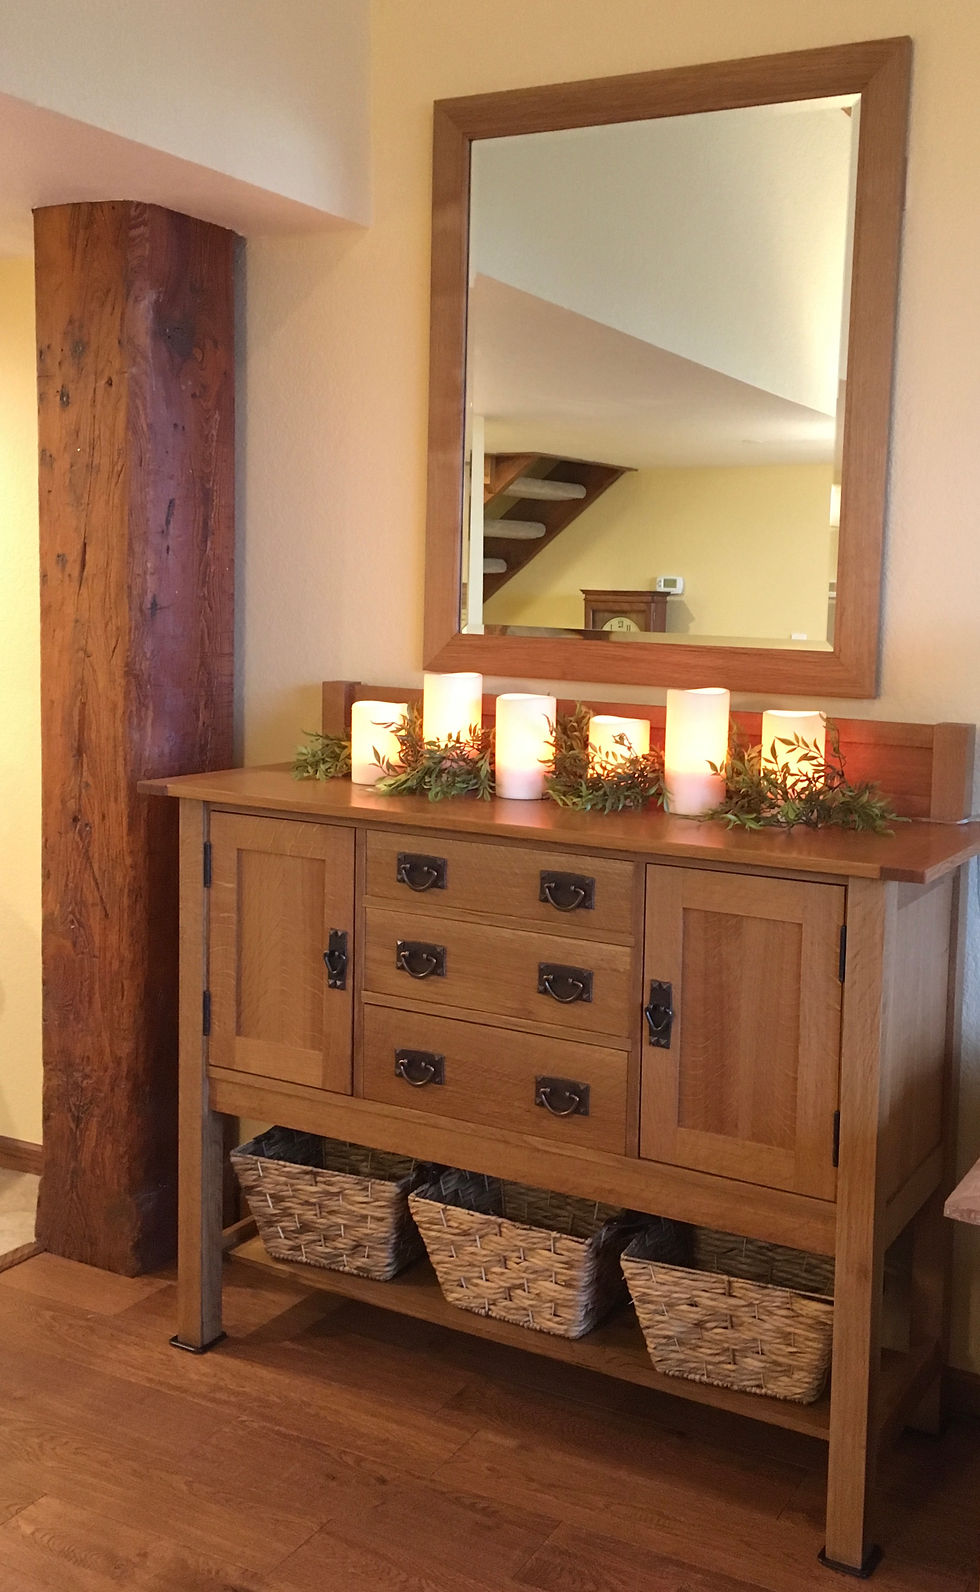
Classic Arts and Crafts Sideboard
- Mike Barber

- Aug 1, 2021
- 3 min read
Updated: Aug 2, 2021

I knew the minute I saw this sideboard on the cover of the June 2015 cover of Fine Woodworking that I wanted to build it. Up to then, most of the cabinets and furniture that I had built, I had done my own designs. However, I wanted this piece to be as original to the period as possible, so I followed the plans in the magazine and also the book Arts & Crafts Furniture Projects by Gregory Paolini ( Greg wrote the article in Fine Woodworking). By the way, the book is a great resource on building Arts and Crafts furniture. From the Introduction chapter to the final projects, he leads the reader to understand the tools, techniques and materials to build Arts and Crafts furniture.
I built this piece before I was taking daily notes on projects and I lost all of my interim building pictures when I jumped into a swimming pool with my phone in my pocket. An no, I had not backed up my phone photos - another costly mistake I have learned from. So I am going to give some estimates of the cost of the project and the build process.
I used 50 board feet of quarter sawn white oak at a cost that averaged $6.00/bd.ft. for a wood cost of $300. I purchased the door and drawer hardware from craftsmanhardware.com for $130 and finishing materials and glue were another $50. Without daily notes, it is difficult to determine the length of time it took but I would estimate it was roughly 150 hours construction.
The plans called for mortise and tenon joints for most of the components so I used the Leigh FMT Pro Mortise and Tenon Jig instead of the classic joints described in the plans. I also used the Festool Domino joiner for the breadboard top as well as joining the bottom tray to the bottom stretchers. I used the Domino because it was easier, quicker and just as strong as the classic mortise and tenon.

In a few hidden places, I used pocket screws to pull components together during the final construction process. The drawers were joined with half blind dovetail joints created on the Leigh D4R Pro Dovetail Jig.

The hardware I used gave the piece a very authentic vintage look but was significantly less expensive than the Stickley reproduction hardware I had used on the house cabinetry.

One of the important lessons I learned was to build a complex piece like this from the middle out. The sequence of the glue up and assembly is critical on a larger piece. One other detail on this piece is the use of leaf hinges instead of 35 mm euro hinges. This required me to carefully fit the doors and then create matching mortises on the legs and outer door edges.

The last part of this project was finishing. Again I chose to go with the finish suggested in the plans - 3-2-1. The finish is 3 parts mineral spirits, 2 parts oil based polyurethane and one part boiled linseed oil. This combination brought out the grain and color of the wood. I then applied two coats of wipe on polyurethane for durability. I have also used the 3-2-1 mix on Cherry to give the wood an aged look.
I have several other arts and crafts pieces on my to build list and will have a more detailed description of the process.


Love this piece. You can always tell the level of skill and attention to detail by looking at the joints that are hidden...such as the dovetail drawers and datos the horizontal shelves sit in. Beautiful piece of furniture.
Beautiful piece, Mike! Thanks again for sharing your knowledge on the website and blogs - they are teriffic!